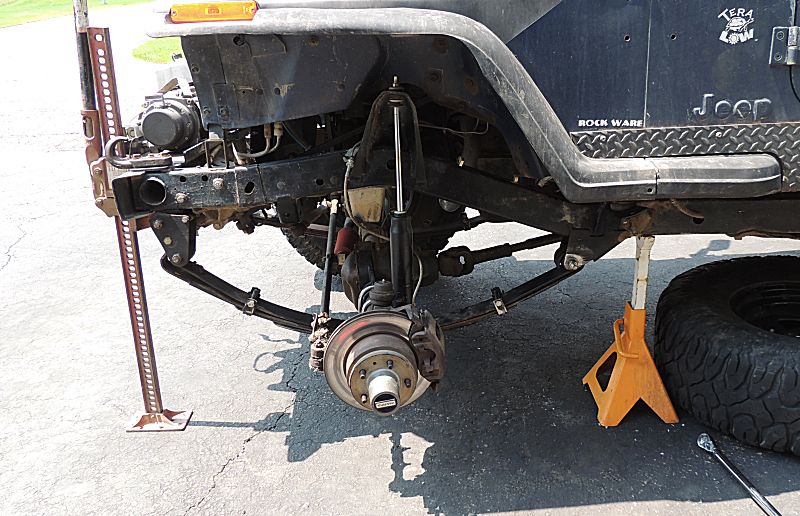
Leaf spring hanger repair
|
Earlier
this spring, on the Utah Hole In The Rock trip, the 90 miles of
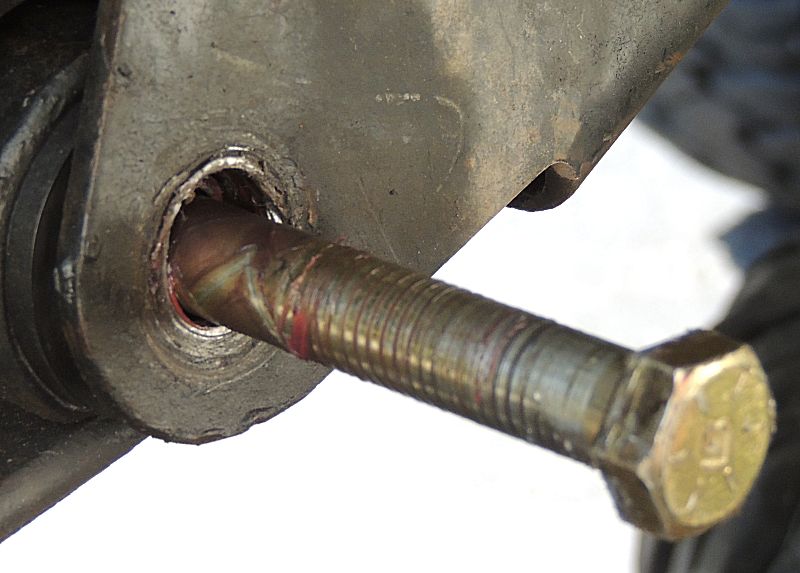
washboard road damaged the leaf spring hanger for the front left
spring. The attachment bolt for the spring to frame hanger loosened and
the threads of the bolt ate away the metal of the hanger. This left an
egg shaped hole. My desire is to fill in the void with the welder to
allow the hole to be round again. While I've had welding classes decades prior in college, and have owned arc and oxy welders in the past, my time producing welds is very limited. This project is about my level (just fill in some metal, it does not need to be strong or look good). One difficulty is that this is a vertical surface vs the often easier horizontal surface. My skill at striking an arc was abysmal but I improved through the project. Having an auto-darkening shield, a first for me, was wonderful. In the end, the result is satisfactory. This was the first solid use of the onboard welder. It performed as desired. Now to address the noisy power so it doesn't kill electronics in the jeep. |
| I
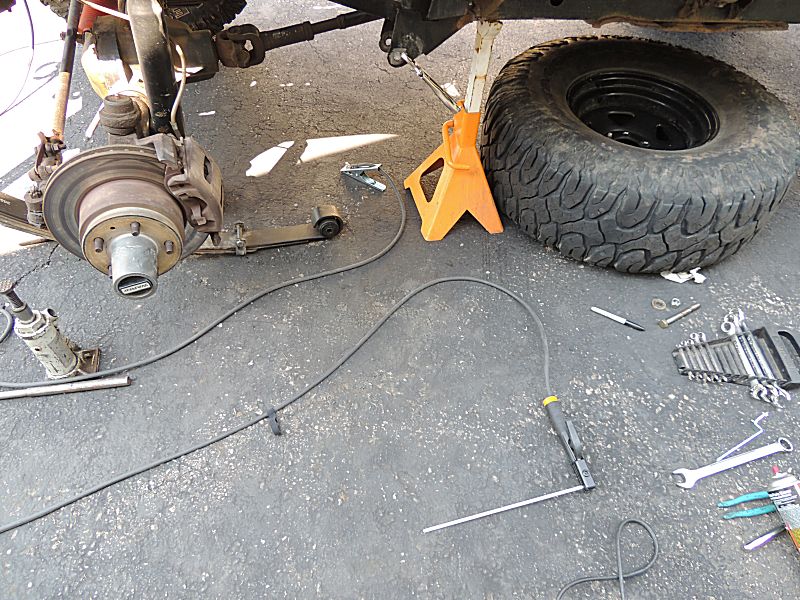
was to this point a week ago but had to stop. I found out I will need
to drop the spring off of the axle. Doing so will require two new axle
U-bolts as when the old U-Bolts are loosened, the munged threads will
wreck the nuts and putting new nuts on the munged U-Bolts will be
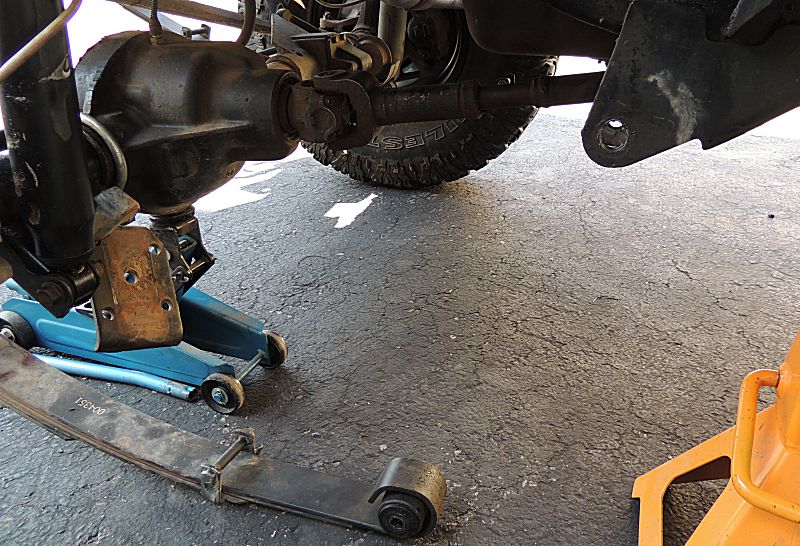
difficult. The new U-Bolts arrived a day or so ago - on with the task. The jeep is supported at each end of the leaf spring. I will need to get my head under the frame and welcome two jacks (vs only one) plus the tire. |
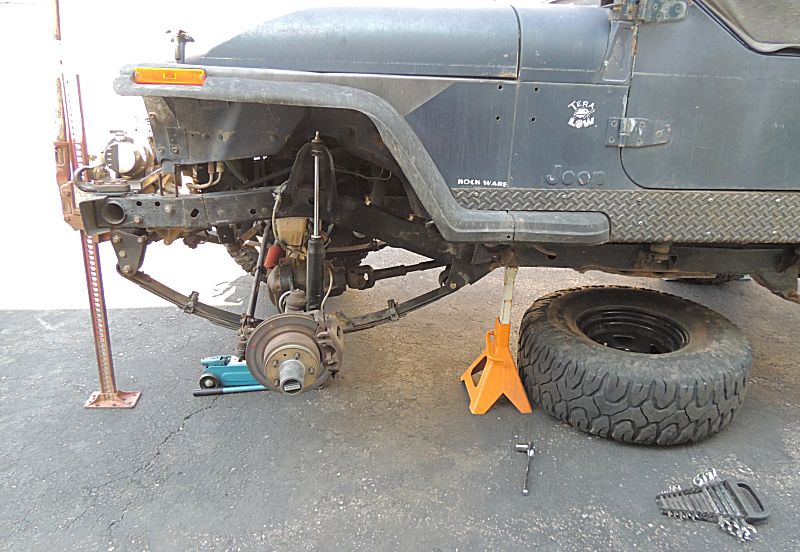
| U-Bolts being removed. |
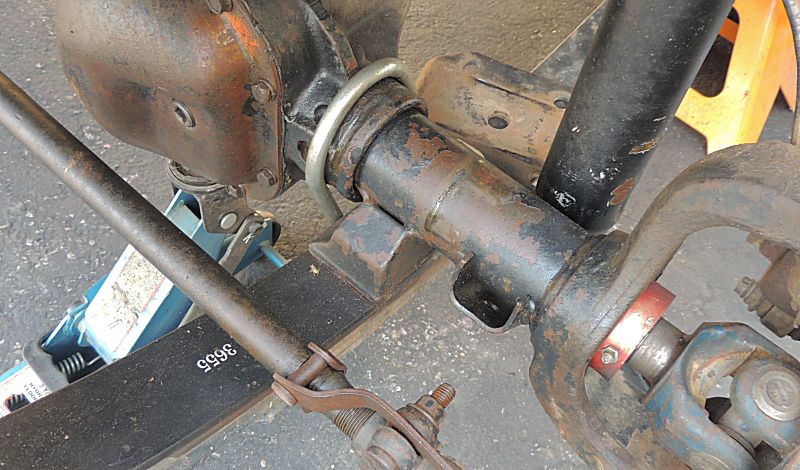
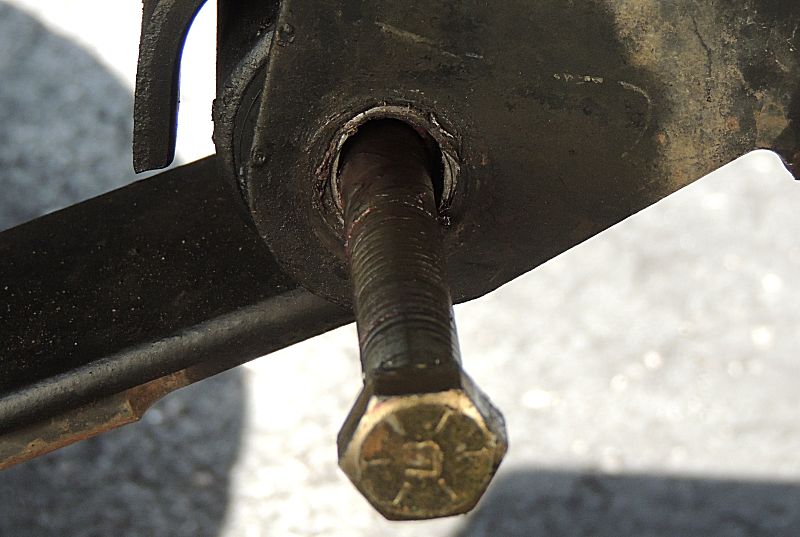
| Spring dropped away with easy access to the
hole. |
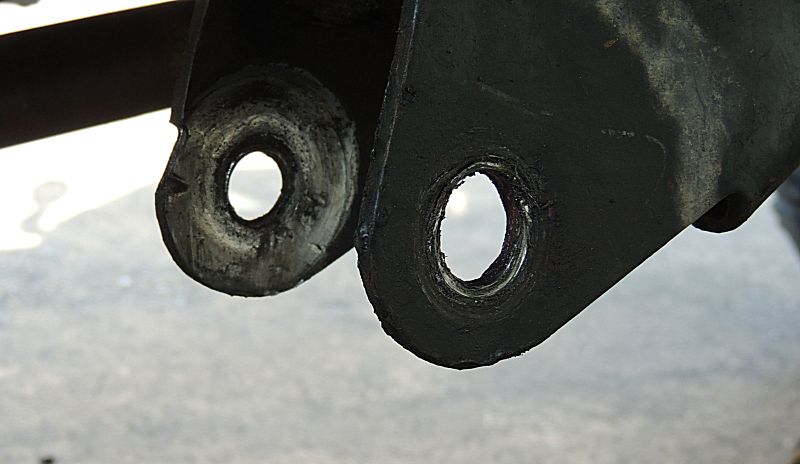
| The 11 to 3 O'Clock area is the area to fill
in. |
| I
clamped a thin peice of metal to the back side to give some backing to
the weld. I'll remove the ViceGrips once it's tac'd into place. At the
end of the project, the backing metal will need to be ground away to
make the surface flat again. |

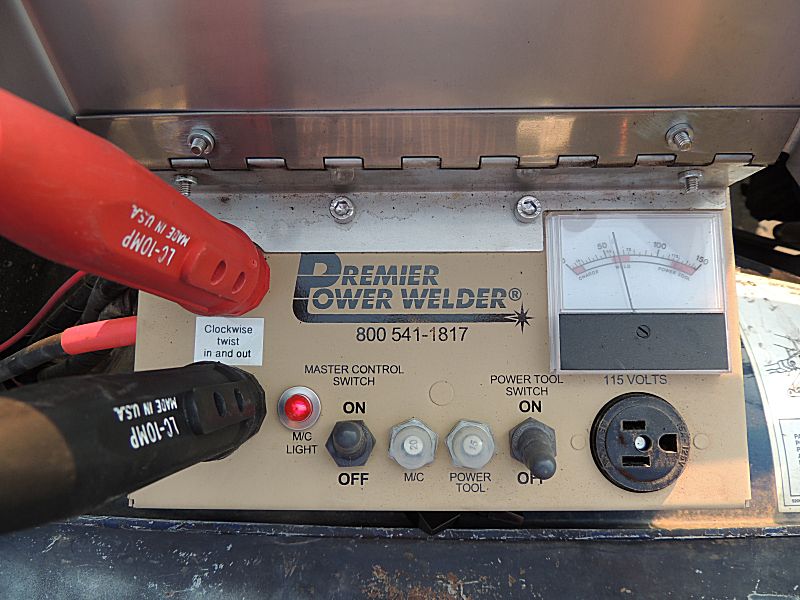
| Settings Through the project I ended up reducing engine RPM / welding power. |
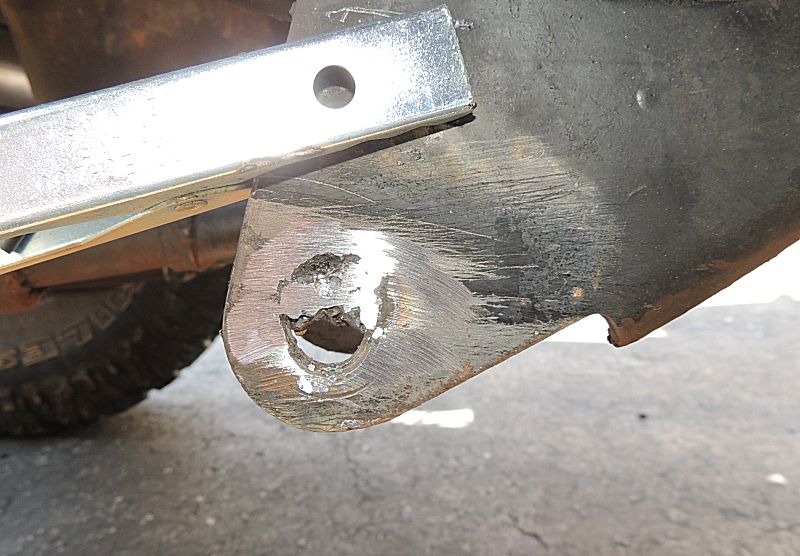
| Ugly - but it's progress. |

| In
grinding down the area, I paid caution to not overly thin out the metal
of the hanger. I ground flat a couple times, noting the void areas to
be filled. |
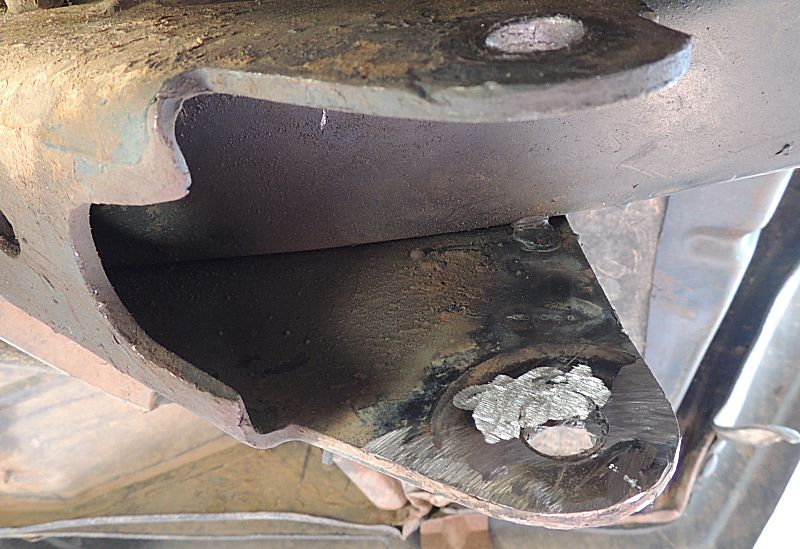
| Welding
complete, I needed to remove the thin backing metal. The angle grinder
(with grinding disc) wasn't easy to see and would not fully access the
area (it would hit the other side of the hanger). I pulled out Ivey's
milk crate of air tools for a hand held grinder. While my air
compressor is undersized for the task - it got the job done in
surprisingly quick time (much faster than the angle grinder). Again,
paying attention to not thinning the metal of the hanger. |
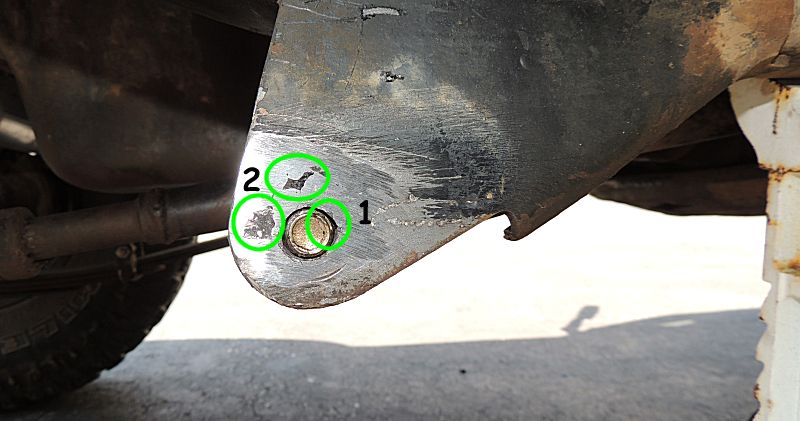
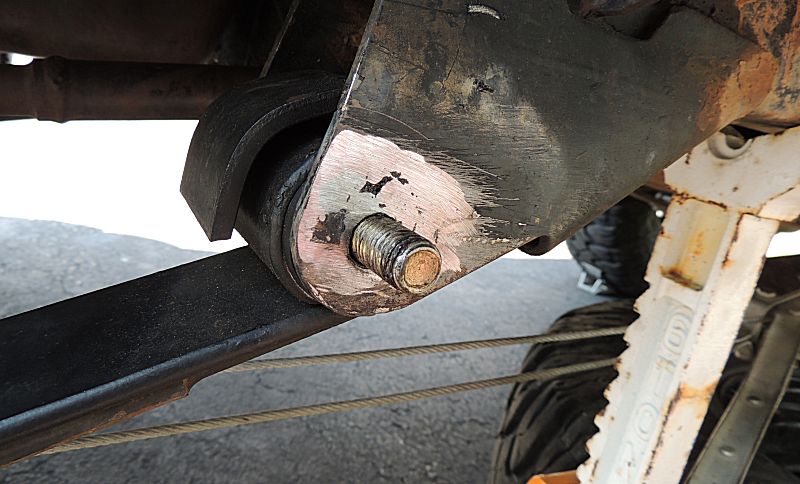
| Final fitment A dremel with grinding bits was used to enlarge the hole to a round shape. The #1 note, the 2-O`Clock position has a little more gap than I'd wish, but I'm calling it good. The #2 void spots don't need to be filled in nor do I wish to grind thinner the hanger metal to make them disappear. |
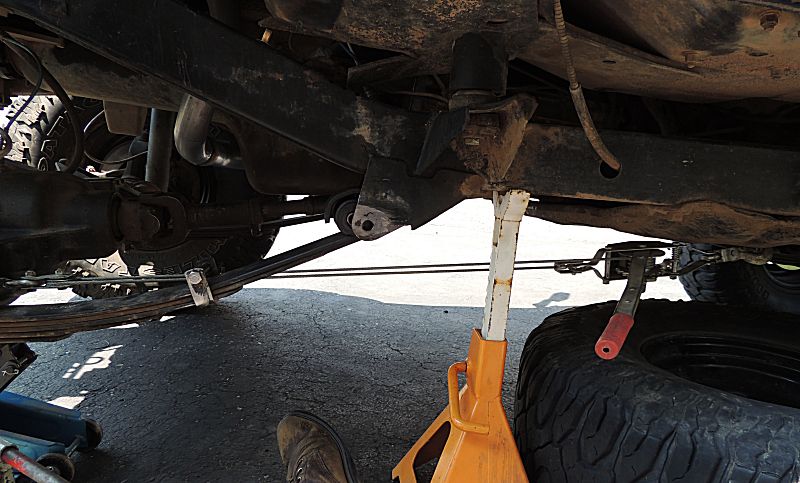
| Come-Along
to assist in aligning the bolt placement - pulling the axle rearward.
One jack under the leaf spring for vertical placement. |
| Add the nut, tighten to spec, done. |
| Now for the tire and tighten to spec and it's
ready for use. |
